Tag: Fashion on a Budget

  • Crafted Confidence: Make Statement Jewelry from Everyday Magic

    Crafted Confidence: Make Statement Jewelry from Everyday Magic

    You don’t need a luxury label or a trip to the artisan market to own a piece of jewelry that turns heads — you just need a little vision, a handful of humble materials, and the courage to create.

    Statement jewelry isn’t just about sparkle — it’s about story. It’s wearable art, a bold whisper that says, this is me. And the best part? You can make it yourself, using items that might already be hiding in your junk drawer, kitchen cabinet, or craft box.

    Let’s turn the everyday into the extraordinary — one DIY piece at a time.


    Why Statement Jewelry?

    Because it doesn’t ask for permission.
    Because it transforms a simple outfit into a masterpiece.
    Because it’s bold, brave, and beautifully you.

    Whether you’re layering chains or building earrings from buttons, statement pieces are more than accessories — they’re amplifiers of personality.


    Materials You Already Have (and Probably Overlook)
    ✨ Paperclips
    ✨ Scraps of fabric or ribbon
    ✨ Old keys, washers, bottle caps
    ✨ Beads from broken necklaces or bracelets
    ✨ Wire from unused cables or twist ties
    ✨ Buttons, safety pins, or even zipper pulls
    ✨ Bits of leather, denim, or lace
    ✨ Paint, nail polish, glitter, and glue

    The idea isn’t to spend — it’s to see differently. Look at the things around you not as leftovers, but as ingredients for style.


    Project 1: Paperclip Chain Necklace
    Sleek, modern, and shockingly cool.

    • Unbend paperclips into oval links
    • Connect them into a long chain (spray-paint them gold, silver, or bold colors)
    • Add a charm made from a key, old pendant, or geometric bead
    • Close with a small clasp or ribbon tie

    Wear it over a plain tee or tuck it under a collared shirt for a high-fashion twist.


    Project 2: Button Statement Earrings
    Vintage meets funky flair.

    • Choose two large, interesting buttons
    • Hot-glue them to earring backs or clip-ons
    • Add hanging details: chains, tassels, or tiny beads on thread
    • Use nail polish to customize color or pattern

    Suddenly, your grandmother’s sewing kit becomes a treasure trove of wearable art.


    Project 3: Fabric-Wrapped Bangle Bracelets
    Soft, striking, and full of texture.

    • Take an old plastic or wooden bracelet
    • Wrap it in fabric scraps or ribbon, gluing as you go
    • Layer with thread, beads, or charms
    • Add a final clear coat for shine and durability

    Perfect for mixing colors and textures — no two are ever alike.


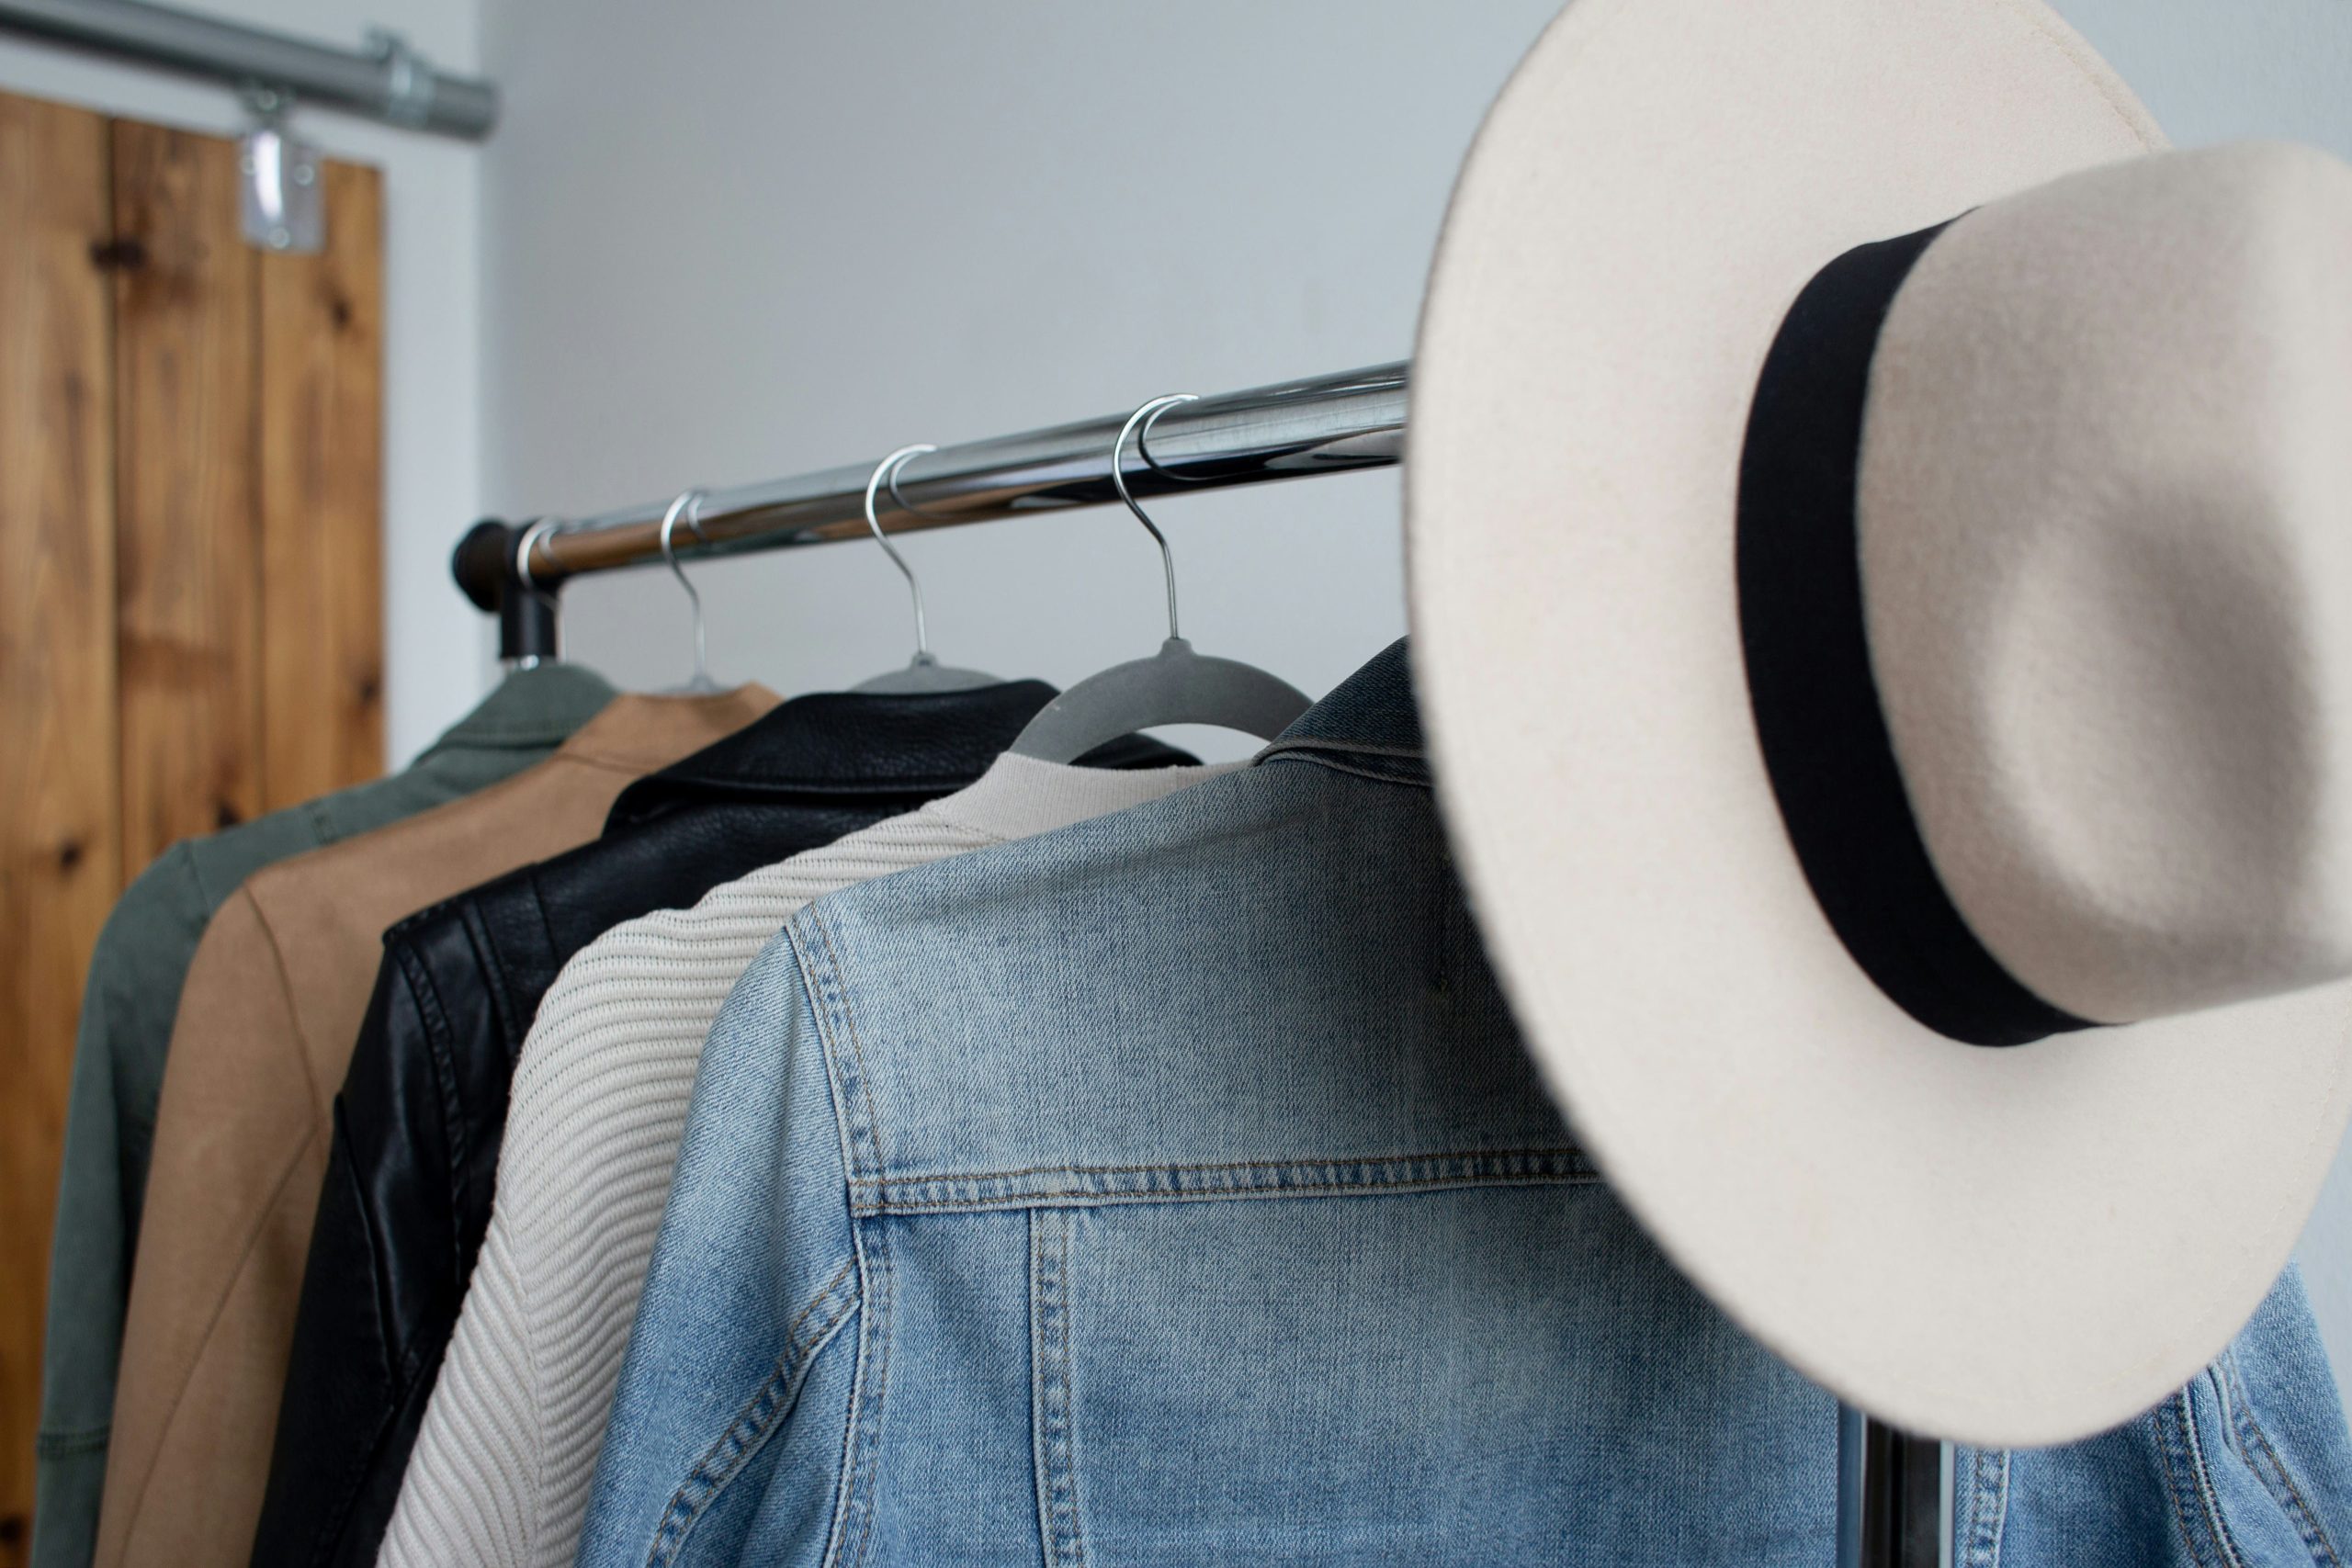
    Project 4: Bold Collar from Recycled Denim
    Yes — a necklace made from jeans.

    • Cut the hem of an old pair of jeans into a wide strip
    • Embellish with buttons, studs, lace, or hand-painted symbols
    • Add ribbon or chain to the ends to create a tie or clasp

    It’s edgy, upcycled, and makes the perfect contrast with a delicate blouse.


    Tips for Crafting Your Jewelry

    • Balance boldness with wearability. If your necklace is loud, let your earrings whisper — and vice versa.
    • Let imperfections speak. Handmade means human. Celebrate the rough edges and mismatched pieces.
    • Use your instincts. If it looks right to you, it is right.
    • Test durability. Use strong glue, secure knots, and solid backing if you plan to wear it often.

    Style It Like It’s Couture
    Pair your DIY jewelry with minimalist outfits to let it shine. Or layer pieces unapologetically — a chunky necklace over a patterned top, mix-matched earrings with a denim jacket, a wild cuff paired with a delicate ring. There are no rules — only expression.

    And when someone asks where you got it?
    You get to smile and say, I made it.


    Final Sparkle
    Statement jewelry isn’t about blending in. It’s about daring to wear something loud, something proud, something made with your own two hands and a wild dash of imagination.

    So raid your drawers, pour out your forgotten trinkets, and see what treasures are waiting to be born.

    Because style is not just worn — it’s created.

  • DIY Distressed Jeans: Step-by-Step Guide to the Perfect Ripped Look

    DIY Distressed Jeans: Step-by-Step Guide to the Perfect Ripped Look

    Distressed jeans are the ultimate blend of edgy and effortless style, but buying them brand-new can cost a small fortune. The good news? You don’t need to spend big bucks for that perfectly ripped, worn-in look—you can create it yourself at home!

    Whether you want subtle frays or bold knee slashes, this step-by-step guide will help you transform any old pair of jeans into DIY distressed perfection. So, grab your tools, unleash your creativity, and let’s get ripping!


    What You’ll Need

    Before you begin, gather these essentials:

    • A pair of old jeans (light-washed or vintage styles work best)
    • Sharp scissors or a utility knife
    • Tweezers
    • Sandpaper or a pumice stone
    • Chalk or a fabric marker
    • Cardboard or a magazine (to protect the other side of your jeans)

    Step 1: Choose the Right Pair of Jeans

    Start with a pair of jeans you’re ready to transform. Distressing works best on jeans made of 100% cotton, as they’ll fray and tear naturally. Lighter washes tend to give off that vintage, lived-in vibe, but darker jeans can look sleek and modern when distressed.

    Pro Tip: If you’re nervous about experimenting, try practicing on an old pair of jeans first.


    Step 2: Plan Your Rips and Tears

    Lay your jeans flat on a table and think about where you want the rips to go. Popular areas include:

    • Knees: Large, bold tears are a statement look.
    • Thighs: Subtle frays and small slashes add texture.
    • Pockets: Distressed edges can give a vintage feel.

    Use chalk or a fabric marker to lightly outline where you want the rips and frays to be. For a natural look, avoid making the marks perfectly symmetrical—real wear-and-tear isn’t uniform.


    Step 3: Start Sanding for a Worn Look

    Before cutting, soften the fabric where you want the distressing to appear. This creates a natural worn-in effect.

    1. Place a piece of cardboard or a magazine inside the jeans to protect the back layer.
    2. Use sandpaper or a pumice stone to rub back and forth over the fabric. Focus on areas you want to look naturally faded or frayed.
    3. Keep sanding until you see small white threads and the denim begins to thin.

    Tip: Pay extra attention to the knees, thighs, and edges of the pockets for a realistic worn-out look.


    Step 4: Create Your Rips and Frays

    Now comes the fun part—creating the rips!

    1. Use sharp scissors or a utility knife to carefully cut horizontal slits across the fabric where you want the rips. Start small—you can always make the holes bigger later.
    2. To create that frayed look, use tweezers to pull out the vertical blue threads from the slits. Leave the white horizontal threads behind—these give distressed jeans their classic look.

    Pro Tip: For big, bold rips at the knees, cut two horizontal slits about 2-3 inches apart. Pull out the blue threads in between for a frayed, open-knee effect.


    Step 5: Add Finishing Touches

    Once you’ve made your rips and frays, it’s time to add the finishing touches to perfect your jeans.

    • Smaller Frays: Use scissors to scrape small sections of fabric to create tiny, distressed spots.
    • Edges and Pockets: Rough up the edges of the back pockets, cuffs, or belt loops with sandpaper for a more authentic, worn look.
    • More Texture: For added detail, rub sandpaper lightly over the seams and other areas of the jeans to create natural fading.

    Step 6: Wash and Wear

    Once you’re happy with the distressing, throw your jeans into the washing machine. Washing helps loosen any loose threads and gives the rips a softer, more natural finish.

    • Wash on a cold cycle and air dry to preserve your handiwork.
    • If needed, trim any loose or overly long threads for a cleaner look.

    Pro Tip: The more you wear and wash your jeans, the better the rips and frays will look over time!


    Styling Your DIY Distressed Jeans

    Now that your jeans are perfectly distressed, here are some ideas to style them:

    • Casual Cool: Pair your jeans with a tucked-in white tee, sneakers, and layered necklaces.
    • Street Style: Add a leather jacket, graphic tee, and combat boots for an edgy vibe.
    • Chic and Polished: Dress up your jeans with a flowy blouse, ankle boots, and a statement belt.

    Why DIY?

    Creating your own distressed jeans is about more than just saving money. It’s about making something unique that reflects your personal style. Plus, it’s sustainable—giving old jeans a second life instead of throwing them away.

    With just a little creativity and some basic tools, you’ll have a pair of ripped jeans that are one of a kind—just like you.

  • 10 Easy DIY Fashion Hacks to Transform Your Old Clothes

    10 Easy DIY Fashion Hacks to Transform Your Old Clothes

    Is your closet overflowing with clothes you don’t wear anymore? Instead of tossing them out, why not give them a brand-new life? With a little creativity, your old jeans, t-shirts, and dresses can become fresh, trendy pieces you’ll love to wear again.

    These 10 easy DIY fashion hacks are simple, fun, and perfect for anyone looking to upgrade their wardrobe on a budget. Grab your scissors, glue, and a splash of imagination—let’s transform your old clothes into something fabulous!


    1. Turn Old Jeans Into Stylish Shorts

    Those ripped, faded, or too-short jeans sitting in the back of your closet? Turn them into a cute pair of summer shorts!

    How to Do It:

    1. Measure and mark where you’d like to cut. Leave a little extra length if you want to roll the hem.
    2. Use sharp scissors to cut off the legs.
    3. For a distressed look, fray the edges with sandpaper or a cheese grater.
    4. Add patches, embroidery, or studs for extra flair!

    Tip: Pair your new shorts with a tucked-in tank or graphic tee for a laid-back summer vibe.


    2. Make a No-Sew Crop Top from a T-Shirt

    Too many old t-shirts? Give them a fresh, trendy twist by turning them into crop tops—no sewing required!

    How to Do It:

    1. Lay your t-shirt flat and cut straight across the bottom to your desired crop length.
    2. Cut a small slit on each side of the shirt (about 2 inches).
    3. Tie the bottom edges in small knots for a cute, finished look.

    Style Tip: Layer it over a high-waisted skirt or shorts for an effortlessly cool outfit.


    3. Add Lace to Your Old Denim Jacket

    Give a boring denim jacket a romantic twist with some pretty lace details.

    How to Do It:

    1. Choose lace fabric or old doilies.
    2. Use fabric glue or stitch the lace onto the back panel, sleeves, or pockets of the jacket.
    3. Let it dry completely, and voilà—your jacket just got a stunning upgrade!

    Style Tip: Lace details pair perfectly with dresses or edgy black jeans for a mix of soft and bold.


    4. Create a Tie-Dye Masterpiece

    Tie-dye is colorful, fun, and back in style! Turn old plain t-shirts, hoodies, or dresses into tie-dye masterpieces.

    How to Do It:

    1. Use rubber bands to tie sections of your fabric tightly.
    2. Apply fabric dye in fun colors to each section.
    3. Let the fabric sit for a few hours, rinse in cold water, and dry.

    Pro Tip: Experiment with different patterns, like spirals, stripes, or ombré effects.


    5. Upgrade Shoes with Glitter or Paint

    Old shoes can sparkle again with a little glitter or paint. It’s a simple way to give worn-out sneakers or flats a fabulous makeover.

    How to Do It:

    1. Clean the shoes thoroughly.
    2. For glitter: Apply fabric glue to the area you want to sparkle and sprinkle on glitter. Let it dry and seal with clear glue or spray.
    3. For paint: Use acrylic paint to add patterns, polka dots, or stripes.

    Style Tip: Customize your shoes to match your favorite outfits or add a splash of color to your look.


    6. Patch Up Ripped Jeans with Fun Fabrics

    Instead of tossing out ripped jeans, turn those holes into a style statement with colorful patches.

    How to Do It:

    1. Cut fun fabric pieces (like floral, plaid, or even old bandanas).
    2. Glue or sew the fabric behind the ripped areas of your jeans.
    3. Add more patches for a bold, DIY vibe.

    Style Tip: Pair patched jeans with a simple white tee to let the patches shine.


    7. Turn a Scarf Into a Chic Halter Top

    Got a scarf gathering dust? With a few folds and ties, you can create a beautiful, flowy halter top.

    How to Do It:

    1. Fold the scarf into a triangle.
    2. Tie the two ends around your neck and the bottom corner around your back.
    3. Adjust the fit to make sure it’s secure.

    Style Tip: Pair with high-waisted jeans or a maxi skirt for a beachy, boho summer look.


    8. Add a Pocket to a Plain Tee

    Breathe life into plain t-shirts by adding a colorful or patterned pocket.

    How to Do It:

    1. Cut a pocket shape from patterned fabric (like florals or stripes).
    2. Glue or sew it onto the front of the shirt.
    3. For extra fun, decorate the pocket with beads, sequins, or embroidery.

    Style Tip: A bright pocket is perfect for pairing with denim shorts or layering under an open flannel shirt.


    9. Turn an Old Sweater into Cozy Mittens

    Repurpose an old sweater into soft, cozy mittens that are perfect for winter.

    How to Do It:

    1. Place your hand on the sweater sleeve and trace an outline for the mitten shape.
    2. Cut out two pieces of fabric per mitten and stitch or glue the edges together.
    3. Flip them inside out for a clean, finished look.

    Pro Tip: Add buttons or embroidery for a cute, customized touch.


    10. Create a Statement Belt from an Old Scarf

    A beautiful scarf can double as a statement belt that elevates your outfits.

    How to Do It:

    1. Fold or roll the scarf into a long strip.
    2. Wrap it around your waist like a belt.
    3. Tie a knot or bow at the front, back, or side.

    Style Tip: Use a brightly patterned scarf to add a pop of color to a simple dress or jumpsuit.


    Transform Your Wardrobe, Transform Your Style

    DIY fashion hacks are about more than saving clothes—they’re about unleashing your creativity and turning forgotten pieces into something uniquely you. Whether you’re adding lace to a denim jacket, tie-dying a t-shirt, or cutting jeans into shorts, these simple tricks can completely transform your wardrobe.

    So, grab your scissors, fabrics, and imagination. Your closet is about to become your ultimate creative playground!